Get your application up and running
Adding the route to the main view
We previously replaced the original MainView with our own. The new one does not have an @Route annotation which we need set our view as the the root route.
Switch back to IntelliJ IDEA.
Expand the
src/main/java/com.vaadin.tutorial.crm.uipackage and openMainView.java.Add the
@Route("")annotation at the beginning of theMainViewclass.
Your MainView class should now look like this:
@Tag("main-view")
@JsModule("./src/views/main-view.js")
@Route("") (1)
public class MainView extends PolymerTemplate<MainView.MainViewModel> {
    // The rest of the file is omitted from the code snippet
}
The
@Routeannotation maps http://localhost:8080/ toMainView.
Running the project
Next, we run the project to see how the new layout will look like.
The easiest way to run the project for the first time is to:
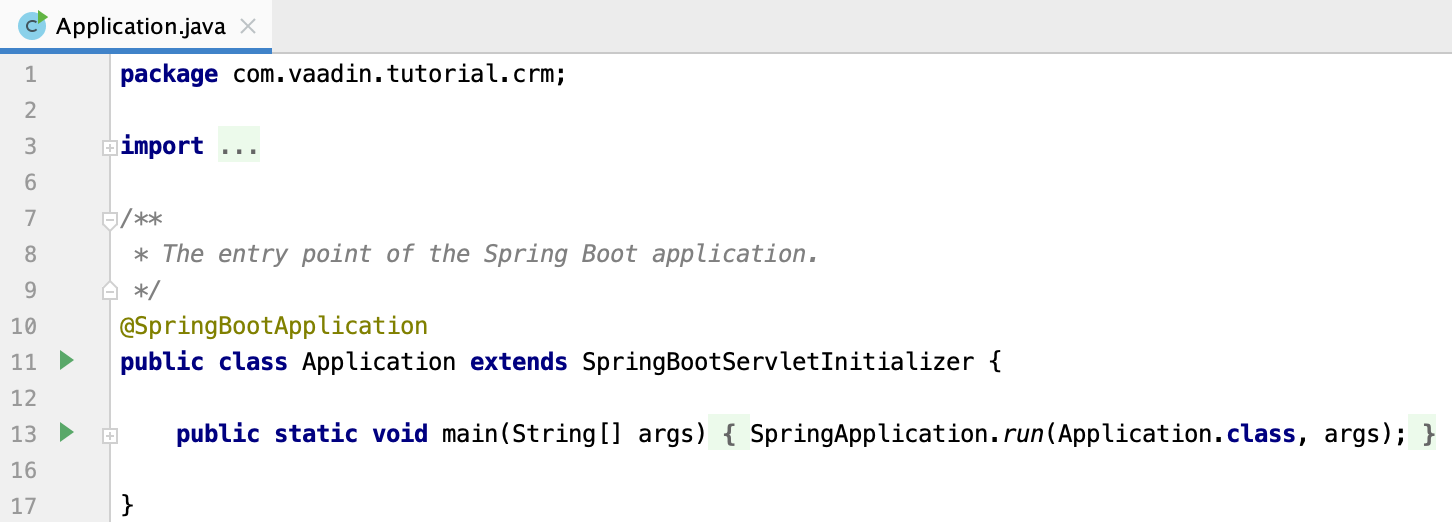
Open the
ApplicationJava class insrc/main/java/com/vaadin/tutorial/crm/Application.javaClick the green play button next to the line which starts with "public class Application".
This starts the application and automatically adds a run configuration for it in IntelliJ IDEA. Later, when you want to run or restart the application, you can build, run/restart, stop and debug the application from the toolbar:

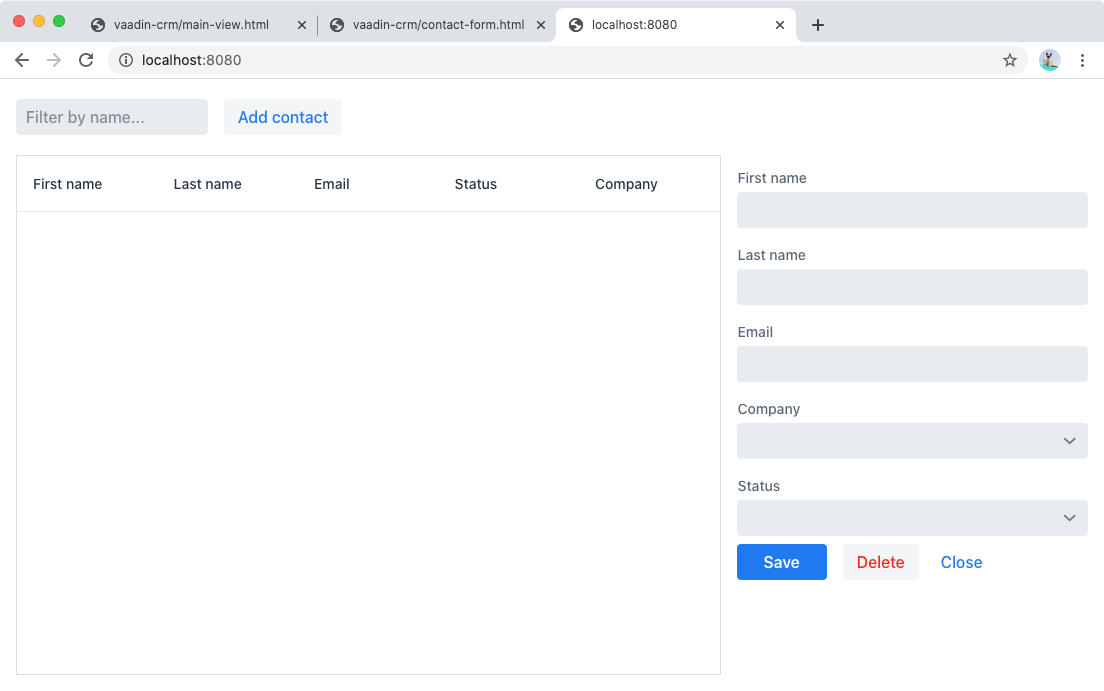
When the build is finished and the application is running. Open http://localhost:8080/ in your browser to see the result.
Proceed to the next chapter to connect your views to Java: Connecting your Main View to Java